Last weekend, I was setting up JMeter for load testing. Instead of stressing my local machine 💻, I decided to spin up an Ubuntu-based EC2 instance on AWS. But before installing JMeter, I needed Java on the instance.
If you’re setting up Java on an AWS EC2 instance, this guide is for you. Let’s get started!
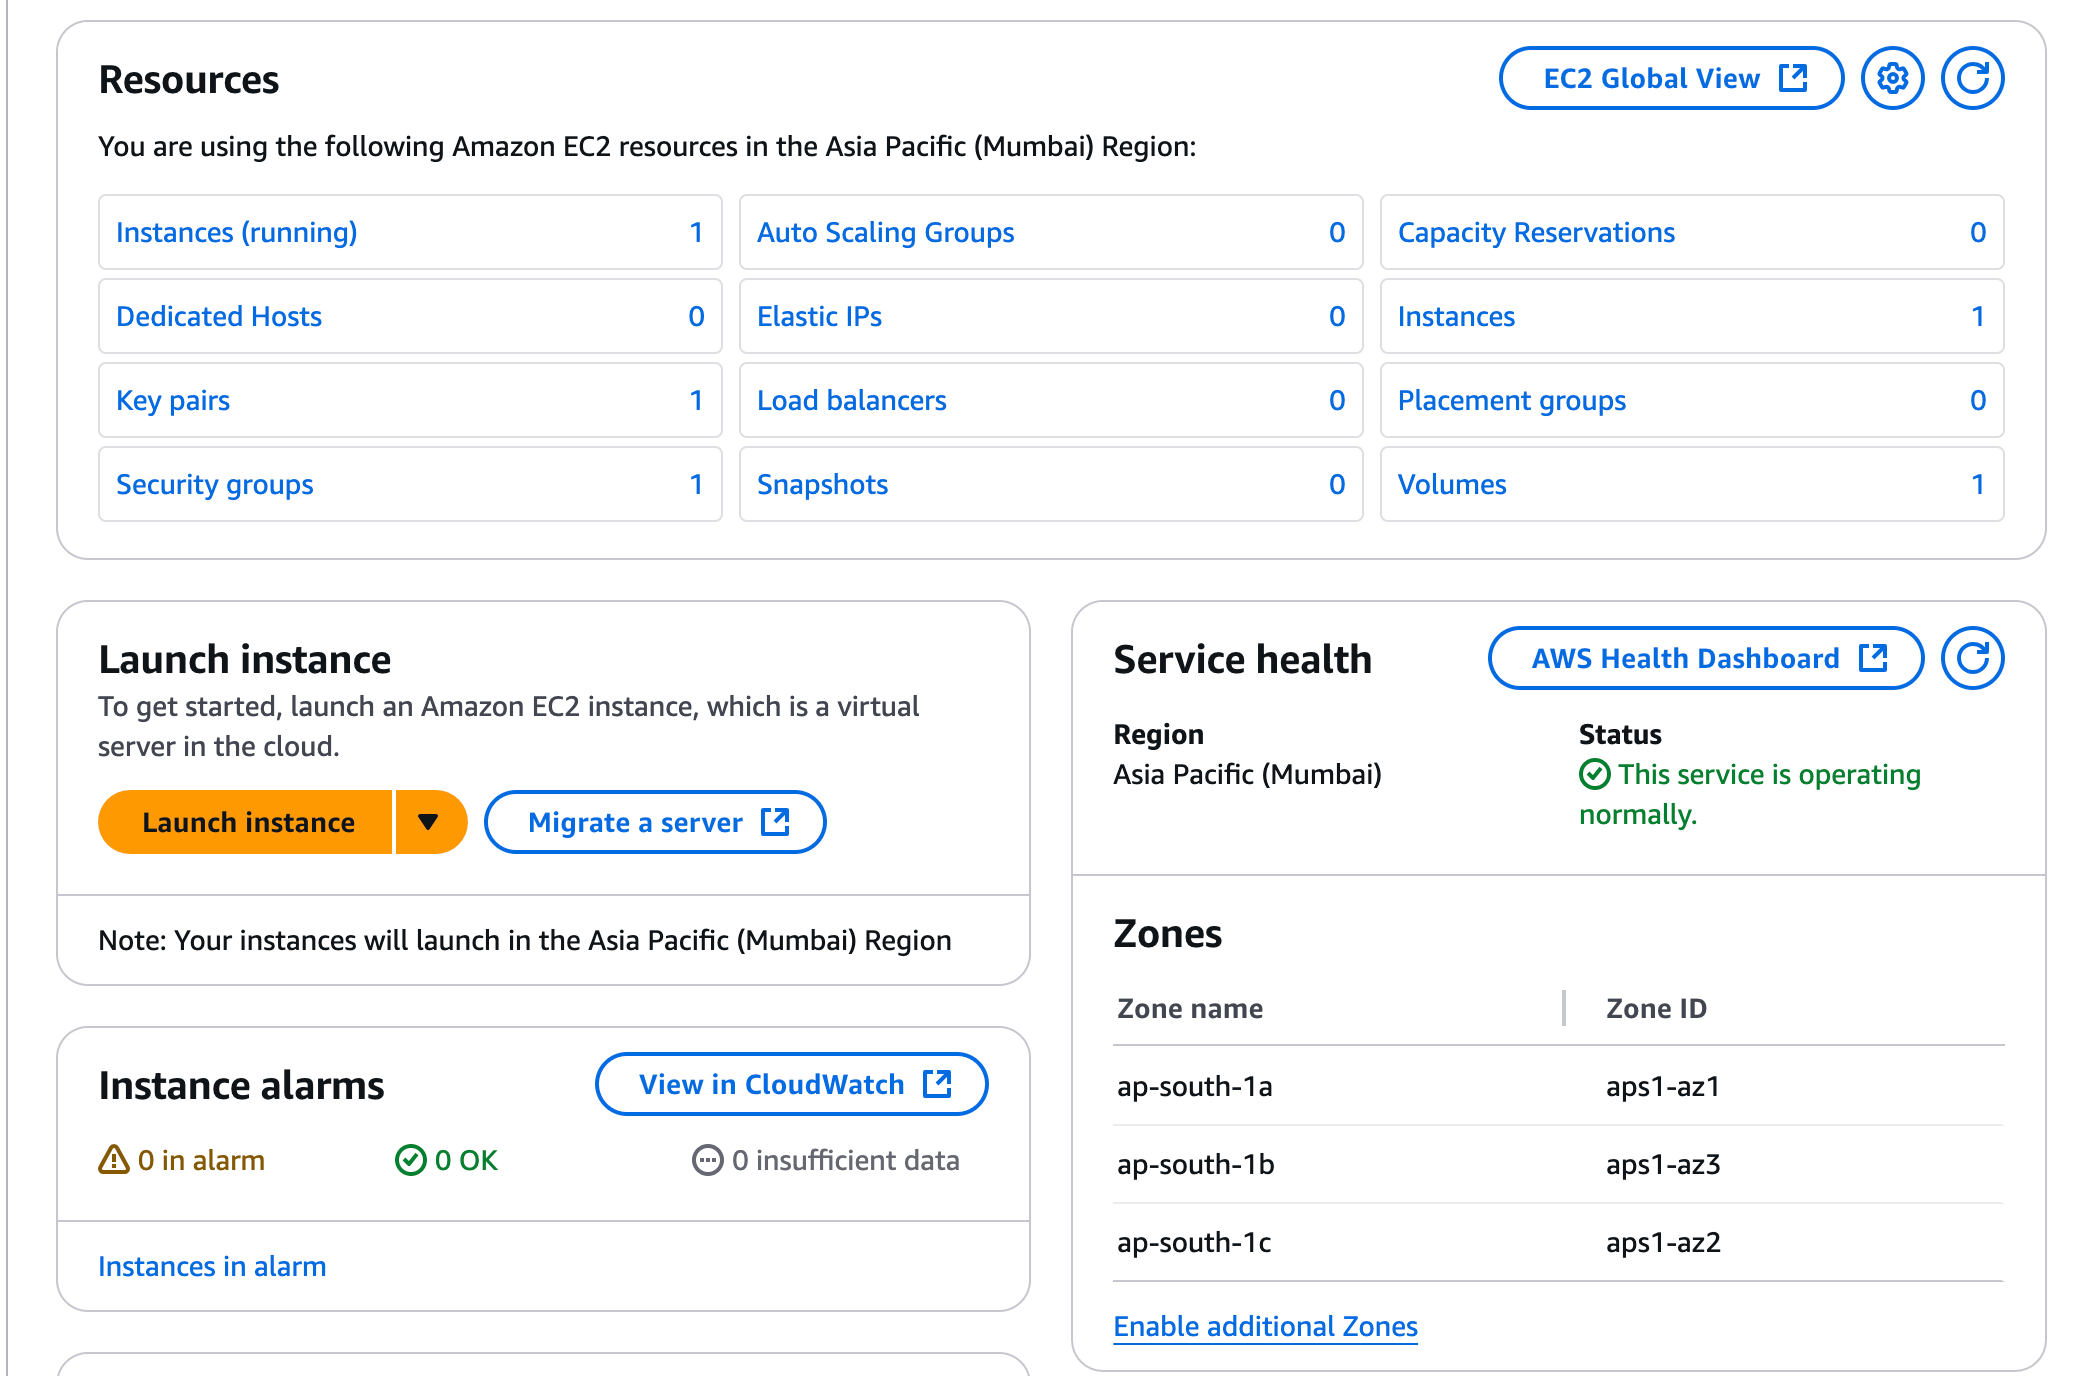
🚀 Step 1: Launch an EC2 Instance
- Login to your AWS Console and navigate to the EC2 Dashboard.
- Click Launch Instance and configure the instance as per your requirements.
- Make sure to download the .pem key file during the final steps—this is needed for SSH access.
- For this guide, we’re using an Ubuntu-based EC2 instance.
🛠 Step 2: Connect to Your EC2 Instance
Once your instance is up and running, connect via SSH from your local terminal.
-
Move to the directory where your .pem file is stored and update its permissions:
chmod 400 mypemfile.pem -
Connect to the EC2 instance:
ssh -i "mypemfile.pem" ubuntu@ec2-x-xxx-xx-0.ap-south-1.compute.amazonaws.com
✅ Pro Tip: Ensure you’re in the same directory as your .pem file before running the SSH command.
📌 Step 3: Install Java on EC2
-
Switch to a superuser:
sudo -i -
Update the package list to ensure everything is up to date:
sudo apt update && sudo apt upgrade -y -
Verify if Java is already installed (most likely, it’s not):
java -version
📂 Step 4: Create a Directory for Java
-
Navigate to the /usr/lib/ directory:
cd /usr/lib/ -
Create a new jvm directory:
mkdir jvm -
Grant proper permissions:
chmod u=rwx,g=rwx,o=rwx jvm
🔄 Step 5: Upload Java JDK to Your EC2 Instance
-
Exit from your EC2 session (
exit) and upload the JDK file from your local machine:scp -i "mypemfile.pem" ~/Downloads/jdk-11.0.25_linux-x64_bin.tar.gz ubuntu@ec2-x-xxx-xx-0.ap-south-1.compute.amazonaws.com:/usr/lib/jvm -
Once the upload is complete, reconnect to your EC2 instance and navigate to the
jvmdirectory:cd /usr/lib/jvm -
Extract the JDK archive:
tar zxvf jdk-11.0.25_linux-x64_bin.tar.gz
🌎 Step 6: Set Up Java Environment Variables
-
Open the environment file for editing:
nano /etc/environment -
Add the following lines to the file:
PATH="/usr/lib/jvm/jdk-11.0.25/bin:$PATH" JAVA_HOME="/usr/lib/jvm/jdk-11.0.25" -
Save and exit (
CTRL + X, thenY, thenEnter).
🛠 Step 7: Configure Java Alternatives
Run the following commands to let the system recognize Java and javac:
update-alternatives --install "/usr/bin/java" "java" "/usr/lib/jvm/jdk-11.0.25/bin/java" 0
update-alternatives --install "/usr/bin/javac" "javac" "/usr/lib/jvm/jdk-11.0.25/bin/javac" 0
✅ Step 8: Verify Java Installation
Run:
java -version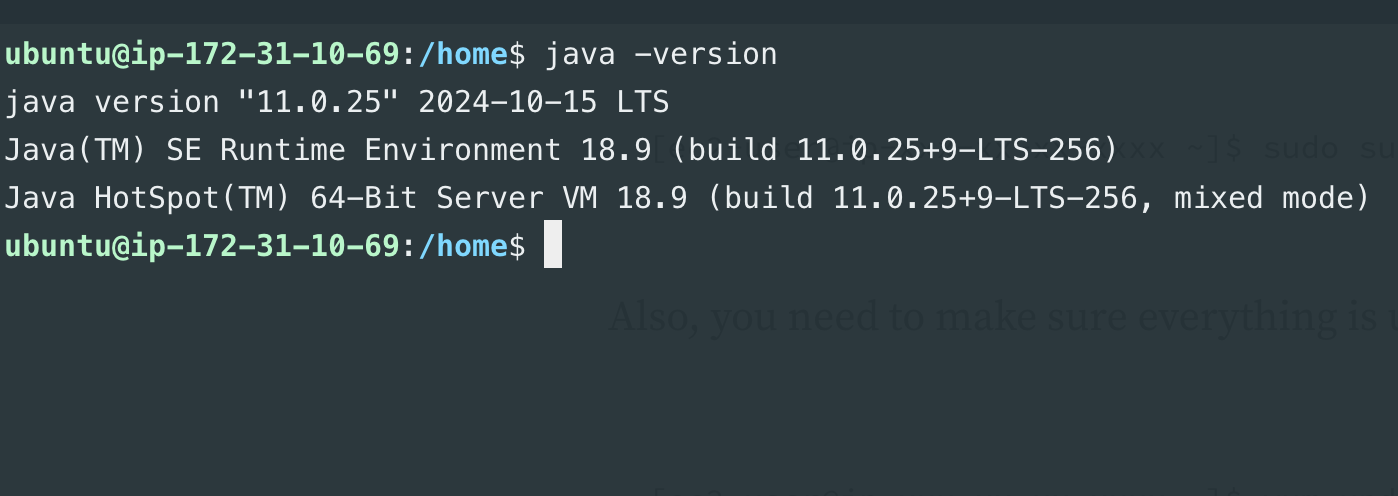
🎉 Boom! Java is now installed on your AWS EC2 instance! 🚀🔥
